

If you’ve ever strolled into Starbucks and walked out with a cake pop (or three), you’re not alone. These mini desserts are hard to resist—perfectly portioned, sweet, and visually adorable. But at nearly $3 a pop, they add up fast. The good news? You can recreate Starbucks-style cake pops at home, and they’re easier to make than you might think.
This detailed guide will walk you through how to make cake pops that look and taste just like the ones you’d find behind the glass at your favorite coffee shop. You’ll save money, enjoy the process, and get full creative control over flavors, colors, and decorations.
Table of Contents
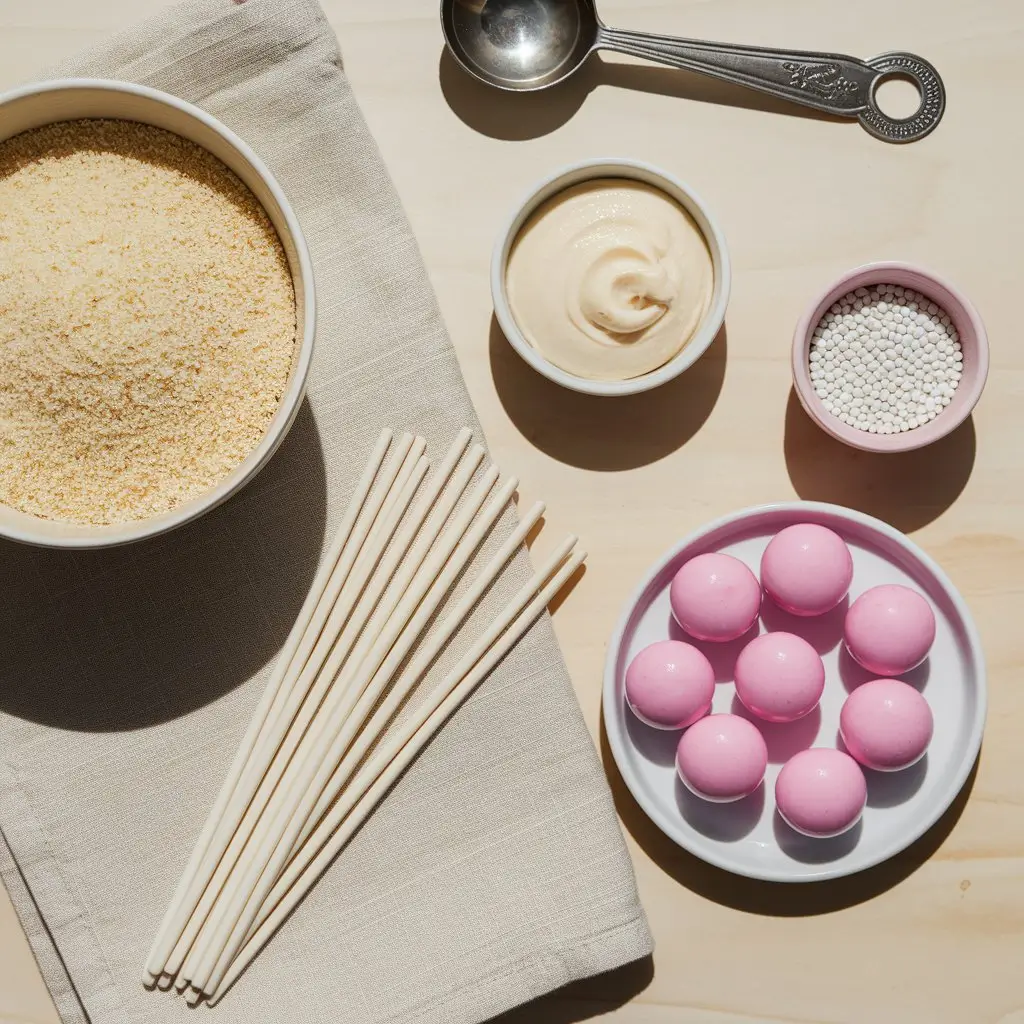
🎂 Ingredients You’ll Need for Starbucks Cake Pops
Making cake pops from scratch doesn’t require any fancy ingredients. In fact, most of what you need is probably already in your pantry.
Cake Base
- Boxed vanilla cake mix is the most convenient choice. Brands like Pillsbury or Betty Crocker work great.
- You’ll need the ingredients listed on the box—usually oil, water, and eggs. For a richer cake, use milk instead of water and add one extra egg.
- Want to go homemade? A classic vanilla cake recipe will work just as well.
- Feel free to get creative: chocolate, red velvet, or Funfetti also make great alternatives.
- For gluten sensitivities, simply swap in a gluten-free cake mix.
Frosting (Binding Agent)
- You’ll only need a small amount of frosting to bind the cake crumbs into a moldable dough.
- Vanilla buttercream is closest to the Starbucks version and brings in a rich, smooth texture.
- Use store-bought frosting for convenience, or whip up a quick homemade buttercream.
- Chocolate, cream cheese, or even strawberry frosting can be used for a unique twist.
Coating
- Candy melts are your best bet for a smooth, shiny finish. Pink is iconic, but white chocolate or almond bark tinted with food coloring also works.
- Add 1–2 tablespoons of coconut or vegetable oil to help thin the melted candy for easier dipping.
Decorations
- Classic Starbucks cake pops use white sprinkles or nonpareils, but feel free to use stars, hearts, or themed sprinkles to match any occasion.
🧰 Essential Tools and Equipment
You don’t need a cake pop maker to pull these off—just a few common kitchen tools will do:
- Lollipop sticks
- Mixing bowls and a spatula
- Electric mixer (stand or handheld)
- Baking sheet lined with parchment paper
- Cookie scoop or tablespoon for portioning
- Styrofoam block or cake pop stand for drying
- Tall microwave-safe glass for dipping
No stand? No problem. Try using a loaf pan filled with rice or beans to hold your pops upright while they set.
⏱️ Timing Overview for Starbucks Cake Pops
Making cake pops takes some patience but is well worth it. Here’s a rough timeline:
- Prep time: 30–45 minutes
- Bake time: 25–35 minutes
- Chilling time: 2–4 hours total (before and after forming balls)
- Decorating time: 30 minutes
Total time: Around 2.5 to 3 hours, depending on chilling preferences.
👩🍳 Step-by-Step Instructions for Starbucks Cake Pops
1. Bake and Cool the Cake
- Prepare the cake mix according to the package, using your substitutions if desired.
- Bake at 350°F (175°C) until a toothpick inserted in the center comes out clean.
- Let it cool completely—refrigerating for a few hours (or overnight) helps it crumble more easily.
2. Crumble the Cake
- Use your hands, a fork, or a mixer to break the cooled cake into fine crumbs.
- Remove any browned edges that may be too dry.
3. Mix in Frosting
- Add frosting one spoonful at a time and mix until the crumbs hold together like dough.
- Be careful not to add too much—your mixture should be soft but not sticky.
4. Roll the Cake Balls
- Use a scoop to portion out the dough into 1-inch balls (about 1.5 tablespoons each).
- Roll between your palms until smooth and place on a parchment-lined baking sheet.
5. Chill the Balls
- Freeze for 15–30 minutes or refrigerate for 1–2 hours until firm.
- Optional: re-roll quickly after chilling to smooth out flat sides.
6. Insert the Sticks
- Melt a small amount of your candy coating.
- Dip each stick ½ inch into the melted coating, then insert it halfway into each cake ball.
- Chill again for 10–20 minutes to set the “glue.”
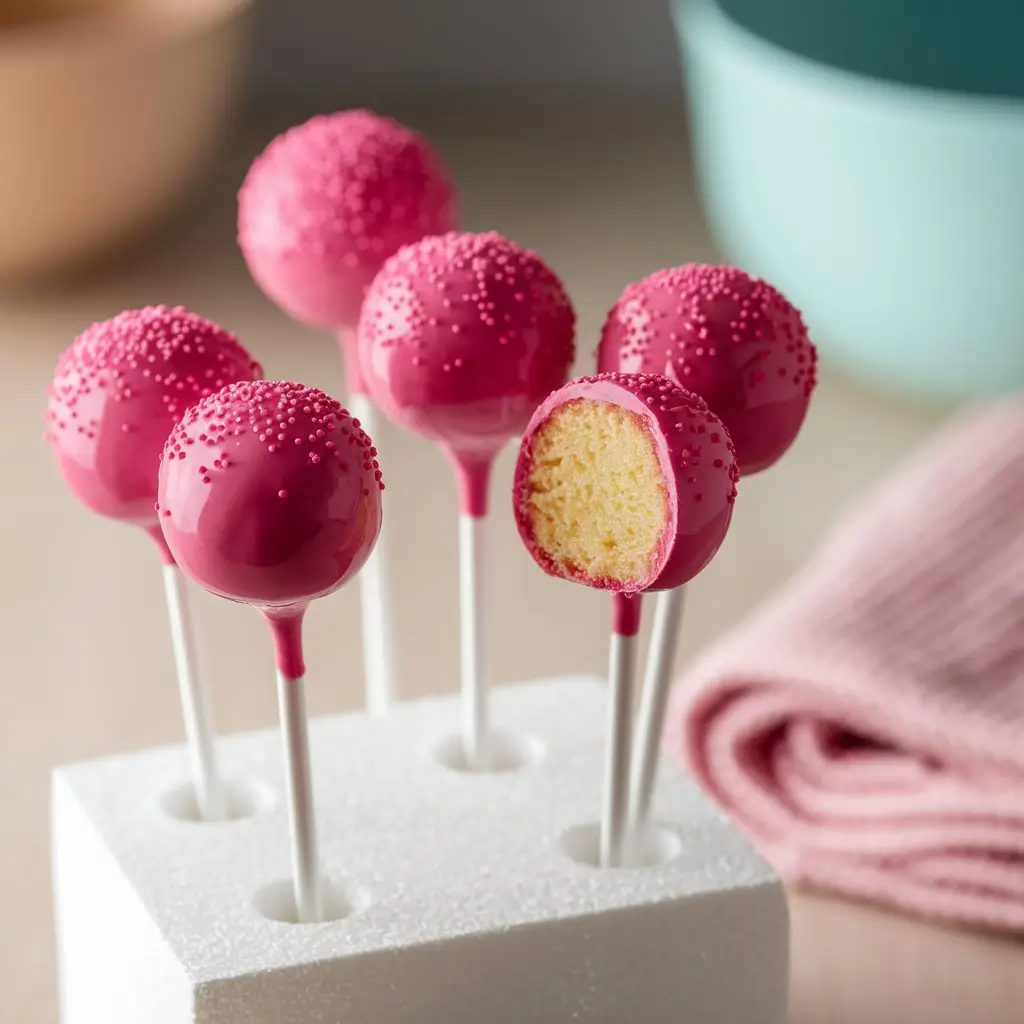
7. Dip and Decorate
- Melt the remaining candy melts in a tall cup or bowl.
- If needed, add oil for a thinner, smoother consistency.
- Dip each cake pop straight down and pull up in one motion—avoid stirring.
- Gently tap off excess coating and immediately add sprinkles before it hardens.
- Stick the finished pops upright in a block or stand to dry completely.
🍬 Nutritional Snapshot (Per Cake Pop)
These values are general estimates and vary depending on your ingredients:
- Calories: 150–240
- Carbs: 18–35g
- Fat: 6–12g
- Protein: 1–2g
- Sugar: 14–20g
Want a slightly lighter version? Try using a reduced-sugar cake mix, or skip decorations. But remember—these are desserts meant to be enjoyed in moderation.
💡 Expert Tips for Success
Making cake pops for the first time? Keep these pro tips in mind:
- Don’t skip chilling: Soft cake balls will fall off the sticks. Chill thoroughly before and after inserting sticks.
- Stick adhesion is key: Always use a bit of melted coating to secure the stick in place before dipping.
- Avoid over-rolling: Oversized balls are more likely to fall. Stick to 30g (about 1 inch) per pop.
- Control frosting amount: Too much frosting makes the texture mushy. Add just enough to hold the crumbs together.
- Avoid thick coating: Add a little oil to your candy melts for a smooth, even coat.
- Tap gently: Let excess coating drip off naturally—don’t shake too hard or the cake ball may loosen.
- Decorate fast: Sprinkles need to be added while the coating is still wet.
- Avoid cracking: Let cake pops sit at room temp for 10 minutes before dipping. If the cold pop hits hot coating, cracks may form.
❄️ Storage Tips
Homemade cake pops are easy to store and even freeze.
- Room temp: Store in an airtight container for 3–4 days.
- Fridge: Store up to 1 week (or up to 2 weeks in some cases).
- Freezer: Freeze for up to 3 months. Thaw in the fridge overnight before serving.
Tip: For best flavor and texture, allow chilled or frozen cake pops to come to room temperature before eating.
🎉 Serving Ideas
Cake pops are endlessly versatile and can be dressed up or down depending on the occasion:
- Perfect for birthday parties, weddings, baby showers, and holidays
- Wrap individually in clear treat bags for gifts or bake sales
- Match colors to a theme for graduation parties or gender reveals
- Add them to dessert tables for a professional bakery-style display
No matter how you serve them, cake pops add a touch of charm to any event.
❓ FAQs for Starbucks Cake Pops
Can I use homemade cake instead of a mix?
Yes! Just make sure it’s moist and dense enough to crumble easily. Avoid cakes that are too fluffy or dry.
Do I need special equipment?
No cake pop maker needed. Basic kitchen tools like a mixing bowl, spatula, and cookie scoop will do just fine.
Why are my cake pops falling off the sticks?
This is usually due to skipping the chilling steps or not securing the stick with melted coating. Overly large balls or thick dipping layers can also cause issues.
Can I make these ahead of time?
Absolutely. Store them in the fridge or freezer and decorate closer to your event if desired.
Do I have to use candy melts?
They’re easiest to work with, but you can use white chocolate or almond bark. Just add oil to thin the consistency for smoother dipping.
✨ Final Thoughts
Making Starbucks copycat cake pops at home is not only fun but surprisingly simple. With a few ingredients and some careful steps, you can craft beautiful, bakery-style treats that rival anything from the coffee shop. These little pops of joy are perfect for sharing, gifting, or treating yourself—no drive-thru required.
So the next time you’re craving something sweet and playful, skip the café line and whip up a batch of these irresistible homemade cake pops instead.
Final Verdict: Do you think you should try this recipe?
Incredible Flavor and Texture – A Must-Try!
Chicken of the Woods totally surprised me. I sautéed it with olive oil, garlic, and a splash of white wine, and it turned out absolutely delicious—meaty, tender, and packed with umami. The texture is so close to chicken that even my meat-loving friends were impressed. It’s now a seasonal staple in my kitchen. Highly recommend for anyone looking to explore wild mushrooms or add a flavorful plant-based protein to meals.
The Creator’s Favorite Recipe Selections
Best German Chocolate Cake (Homemade & Irresistible!)
How to Make the Perfect Oreo Mug Cake in Minutes
Easy Chocolate Pound Cake Recipe Using Cake Mix